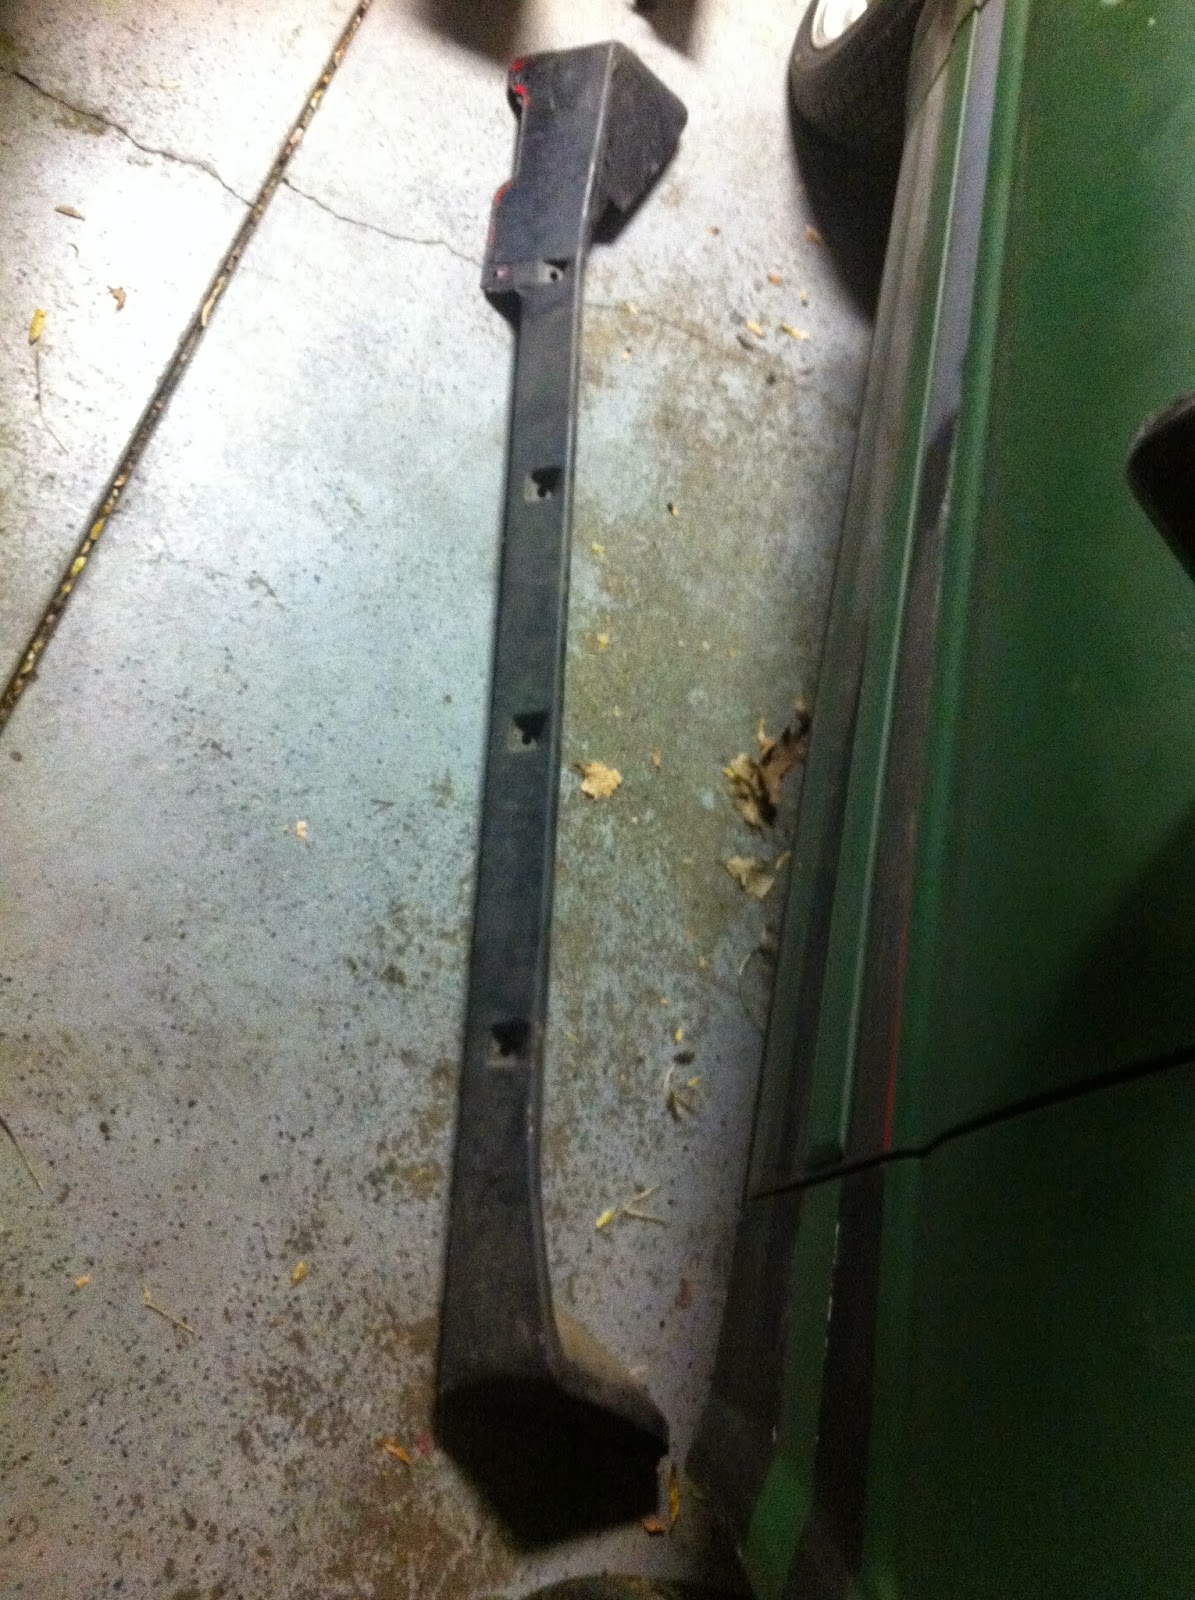
Now that I have the car in the garage, it desperately needed to be cleaned up after sitting in the elements for 4+ years. There were nuts, leaves, pine cones and all kinds of other stuff in the car that need to be cleaned out! We started with some vacuuming and soapy water to clean the car up... nothing is worse than a dirty dust-covered project sitting in the garage!
Inside and outside are clean, so time to start on the bay!
With the fenders and the bumper off it made the bay area super easy to access for cleaning! Bill and I used a shop vac and cleaned all the pine needles and acorns out of there! Everything was starting to take shape!
Next up was to take a look at some janky rear suspension...
As you can see in the second photo, there are lag bolts holding the rear end in the car... Oh man, what have I gotten myself into?
For the time being, I tossed on some normal bolts (ordering proper hardware before the car gets driven). The rear is now somewhat centered, and it looks good enough for the time being!
Let's see how the front looks:
Along with the car, I received some T3 (Techno Toy Tuning) Front Coilovers, with camber plates and RCA's (Roll Centered Adjusters). The car also had some UEO tie rod ends, but they looked like they might need some work, which I'll address later.
Coilovers installed and setup with a great ride height for the car/wheel combo, no need to change anything. Now all I need is some brakes up front!
Stay tuned for...My AE86 Corolla Part 3 - Prep and Paint the Bay!
Tuesday, August 4, 2015
Thursday, March 26, 2015
My AE86 Corolla Part 1 - What did I get myself into!?
Since car forums seem to come and go, I am going to move my "Build Thread" here and share it to the other forums.
All packed up and headed back to Minnesota from NW Wisconsin with the Corolla and an extra truck load of parts. Here are some parts that I got with the car:
2 sets of steel fenders
JDM Zenki front bumper
USDM GTS front bumper
JDM Redline taillights
Fake Origin tails
Spare set of Flip up headlights
JDM GTS Sideskirts
UEO Tie Rods
Rebuilt steering rack
GTS Front X Member assembly
Stock rear suspension rods
Swift Lowering Springs on all corners
Front stock struts are bad but has good strut tubes
KYB AGX rear shocks
Techno Toy Tuning front Coilovers
Front GTS brake calipers
1 complete set of nice SR5 wheels
1 complete set of nice GTS wheels
1 complete set of brand new 14'' Koning Rewinds -9 offset
1 complete set of brand new Falken Tires on Rewinds
GTS MT Driveshaft
Rebuild 4ag Bluetop
4AG bluetop head
4AG Redtop engine that needs rebuild. (Rings)
Good GTS T50 trans
Brand new stage 3 clutch
ITBs
Megasquirt Standalone (needs assembly and wire harness)
Bluetop ECU
Bluetop Engine harness ( tore apart in a box)
Stock Intake Mani
Stock MAF
Stock Exhaust Mani
All engine assemblies are there but alt is seized
Battery Box in hatch
Has stock flywheel but needs resurfacing
GTS Front seats in great shape
Mint GTS Dash
HKS steering wheel hub
GTS Cluster
GTS Center trim
Alpine CD Player
All dash trim parts
Toyota Service Manuals for AE86
I have 2 bins full of other misc parts
Front strut bar
A bunch of spare body trim parts
Stay tuned for part 2, Cleaning and Organization
So, to give a little back story, I have been into cars since I was a little kid. My dad was a mechanic, and I would always spend time with him in the garage fixing cars and talking about how things work! Fast forward a few years. I got my drivers license and I was immediately interested in modifying my car to handle better and go faster! After 10 or so years of doing different motorsports, I fell in love with drifting! Next came the drift cars (Mazda RX-7, Nissan 240, and Mazda Miata). My latest, the Mazda Miata was a blast, but I unfortunately crashed at Raceway Park in the summer of 2012. In the fall, I traded it for my new project: a 1984 AE86 SR-5 Corolla.
Here are some photos from the Seller/Dude I traded the corolla with from when he got it and started with it. After these photos where taken, this car sat in his yard for 4 years!
So 4 years later, I pulled up with a truck and my old Miata on a trailer to pick up my new project! What an exciting day! Finally picking up my dream car felt so good!
2 sets of steel fenders
JDM Zenki front bumper
USDM GTS front bumper
JDM Redline taillights
Fake Origin tails
Spare set of Flip up headlights
JDM GTS Sideskirts
UEO Tie Rods
Rebuilt steering rack
GTS Front X Member assembly
Stock rear suspension rods
Swift Lowering Springs on all corners
Front stock struts are bad but has good strut tubes
KYB AGX rear shocks
Techno Toy Tuning front Coilovers
Front GTS brake calipers
1 complete set of nice SR5 wheels
1 complete set of nice GTS wheels
1 complete set of brand new 14'' Koning Rewinds -9 offset
1 complete set of brand new Falken Tires on Rewinds
GTS MT Driveshaft
Rebuild 4ag Bluetop
4AG bluetop head
4AG Redtop engine that needs rebuild. (Rings)
Good GTS T50 trans
Brand new stage 3 clutch
ITBs
Megasquirt Standalone (needs assembly and wire harness)
Bluetop ECU
Bluetop Engine harness ( tore apart in a box)
Stock Intake Mani
Stock MAF
Stock Exhaust Mani
All engine assemblies are there but alt is seized
Battery Box in hatch
Has stock flywheel but needs resurfacing
GTS Front seats in great shape
Mint GTS Dash
HKS steering wheel hub
GTS Cluster
GTS Center trim
Alpine CD Player
All dash trim parts
Toyota Service Manuals for AE86
I have 2 bins full of other misc parts
Front strut bar
A bunch of spare body trim parts
Stay tuned for part 2, Cleaning and Organization
Monday, November 17, 2014
DIY Windshield Banner Installation!
Installation instructions for banners! This guide should work for any car or truck.
Now that you have your banner and supplies all ready to go you should start by cleaning the surface where the banner will be getting installed. If there is any dust or dirt under the sticker it will show through in the banner itself. So once the window is all clean you can place your banner centered and use a pice of masking tape to align it. I like to have the vinyl go about 1/4 inch above the top - outside edges of the windshield.
Now you have a sweet banner; feel free to take photos and show your friends how cool you are!
for starters you will need a few supplies.
- Felt Tipped squeegee ( http://straitupd.bigcartel.com/product/vinyl-application-squeegee)
- Water bottle with a small amount of dish soap
- Masking tape
- Razor Blade
With the banner in place take one side and flip it over to peal the backer off and trim the backer off of that one side. Spray plenty of water on the back side of the sticker and the glass where the banner is to be applied. This will give you some time to move the banner around a little bit and when you squeegee the water out it will take the air bubbles out with it.
Squeegee some of the water out starting at the center and moving to the outside, now it will not move from the glass. Now repeat these steps for the other side of the window.
Squeegee as much of the water out of the banner as possible, use the felt end of the squeegee only so it does not scratch the banner, when squeegeeing to the edges you will start seeing the line for the window trim, this is where you use your razor blade and hand trim the outside edges, you may notice some extra water there continue to squeegee all of this water out. Now wipe the window down and you should be ready to go!
Now you have a sweet banner; feel free to take photos and show your friends how cool you are!
Labels:
AE86,
Corolla,
custom graphics,
design,
Dirty Love,
Do-it-yourself,
drift car,
graphic design,
graphics,
installation,
JDM,
stickers,
Straight,
Strait up D,
Strait up Design,
Straitup D,
The Lab,
vinyl
Subscribe to:
Posts (Atom)